Painting Textures
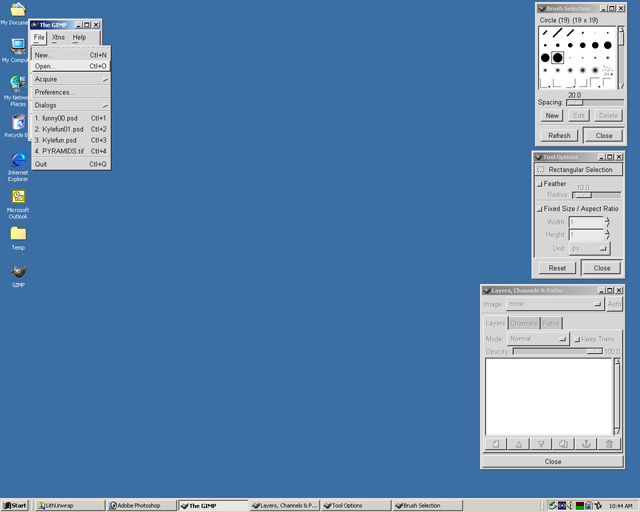
Step 01
Open Gimp, select open.
Step 02
Find the 3d directory, select sphere.bmp and press open.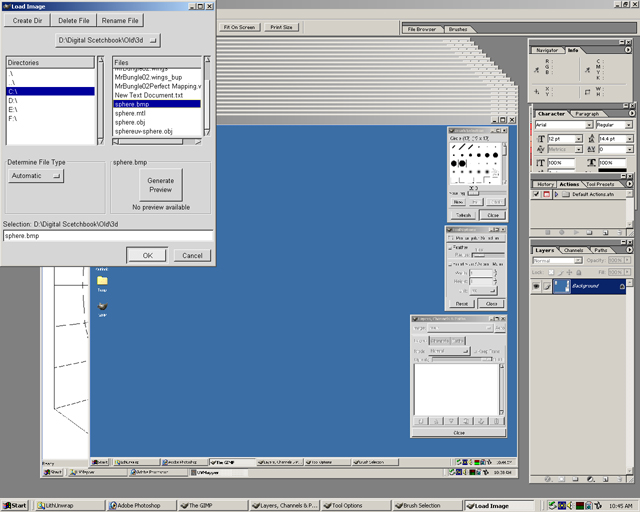
Step 03
Notice the image has white lines on black background.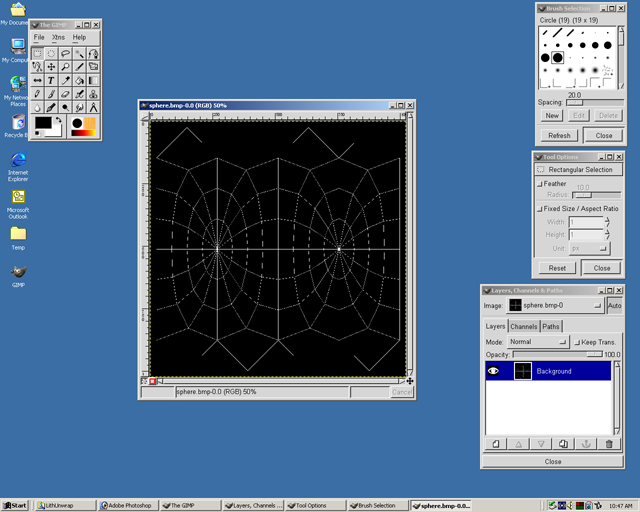
Step 04
To make the image have black lines on a white background right click, then select image, colors, invert.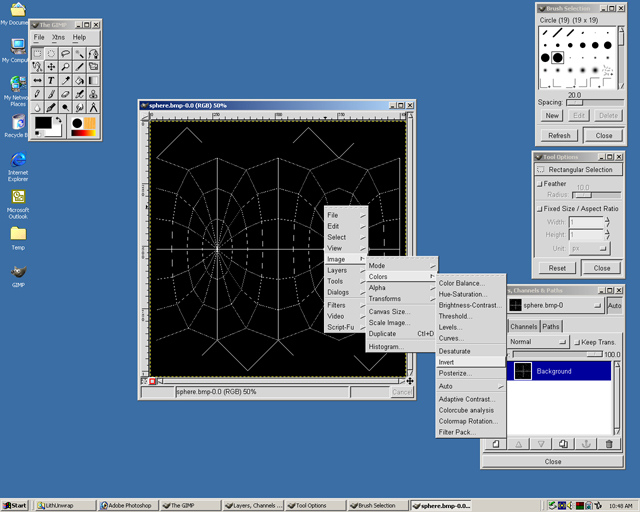
Step 05
Now the image is similar in look to the orginal UV map colors. It is not necessary to invert the map colors. The map only looks broken because it is at ˝ of the true size or 50% of the image size.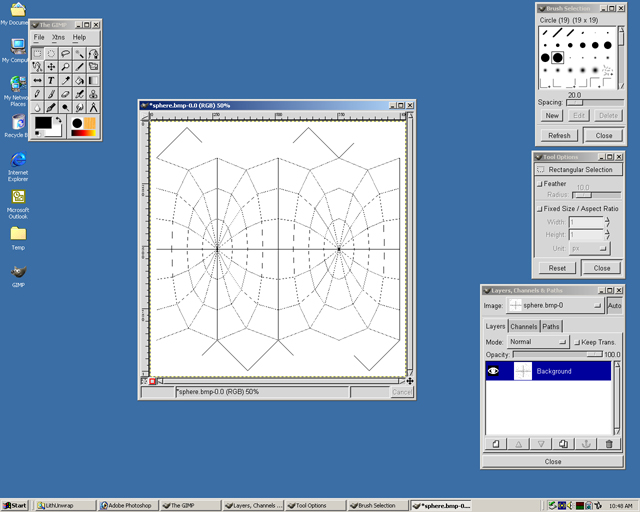
Step 06
Use the magnifying glass to zoom in to 100% or the original size. Now the lines do not look broken.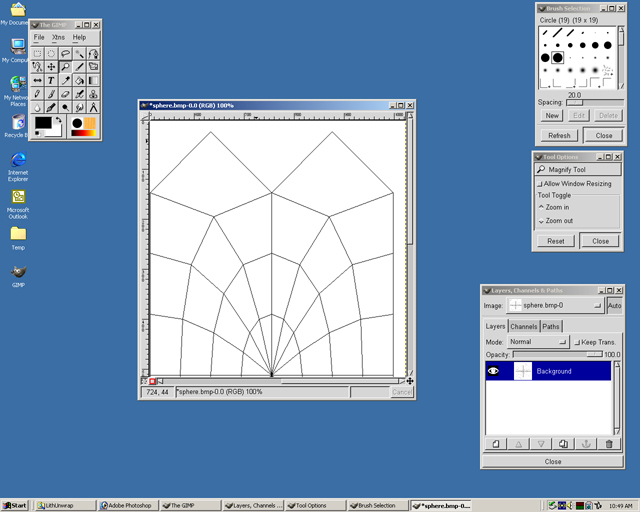
Step 07
Zoom back out(using magnifying glass + ctrl) to see the entire map. Right click, select Layers, and then Layers, Channels & Paths.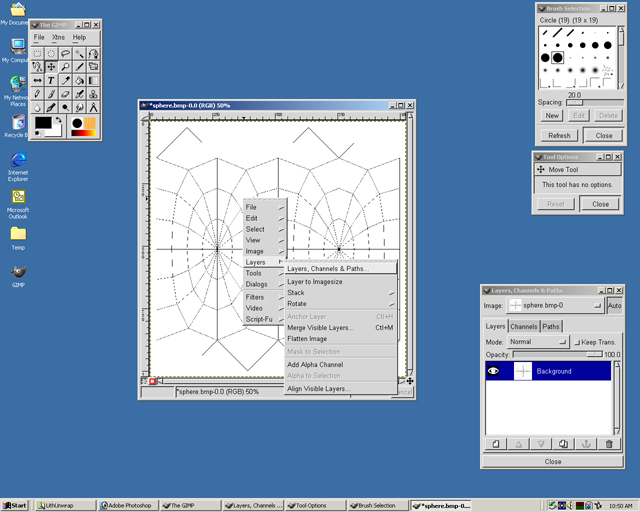
Step 08
The Layers dialog will appear. Select the small paper image to the lower left of the Layers dialog box to create a new layer.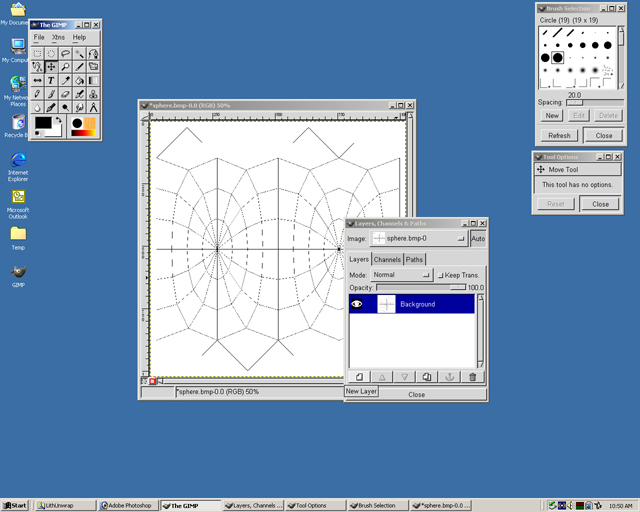
Step 09
Choose Transparent, then ok.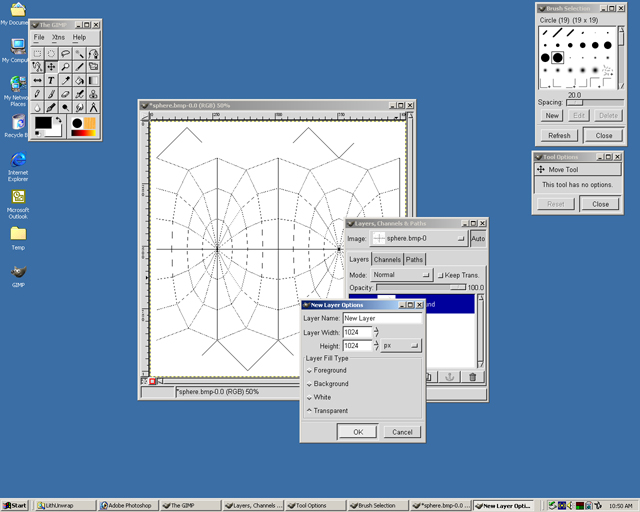
Step 10
Select the New Layer by selecting the word New Layer in the Layers dialog box.
Step 15
Use a painting tool to start painting on the upper layer over the map. It is not necessary to paint within the lines.
Step 16
Sometimes it will be necessary to have the area painting with lines of the map. To see the map underneath select New Layer in the Layers dialog box. Move the opacity bar view the map underneath.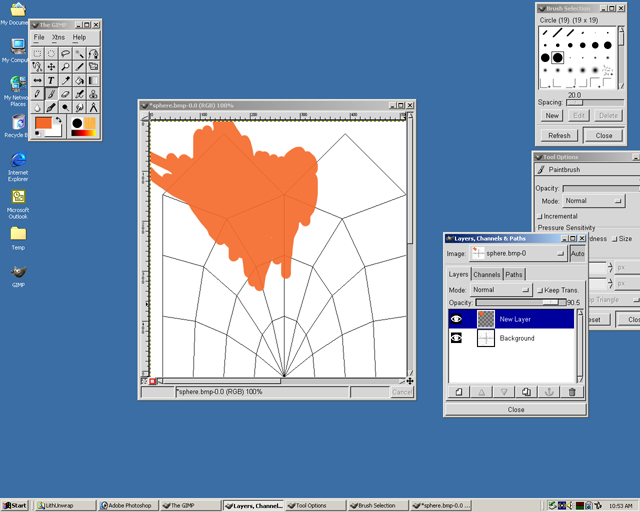
Step 17
Paint the image until it has reached a desired result. Some tools that were used were paint brush(with multiple types of brushes), dodge and burn. There are many other ways to paint textures.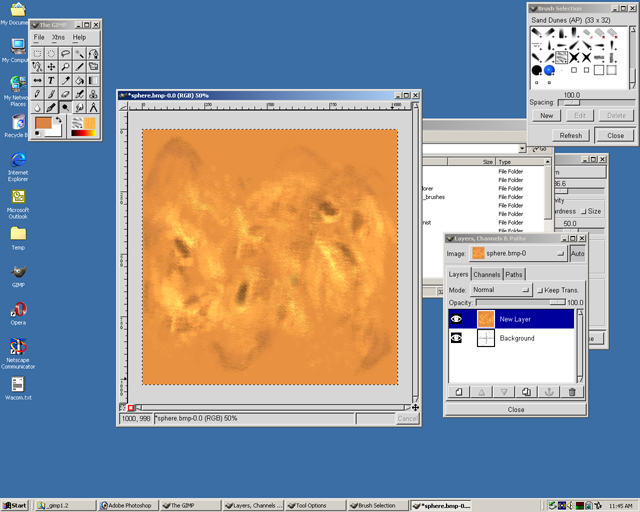
Step 18
Right click select file, then save as.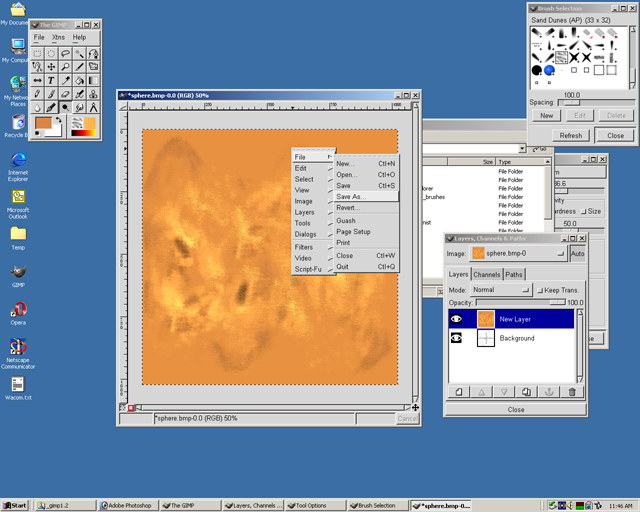
Step 19
Under determine file size, select psd. Select ok. This will retain the layers.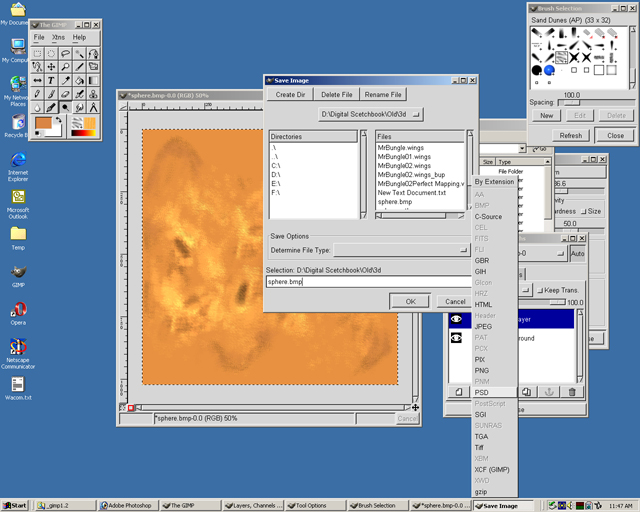
Step 20
Right click on the image. Select layers, then flatten image.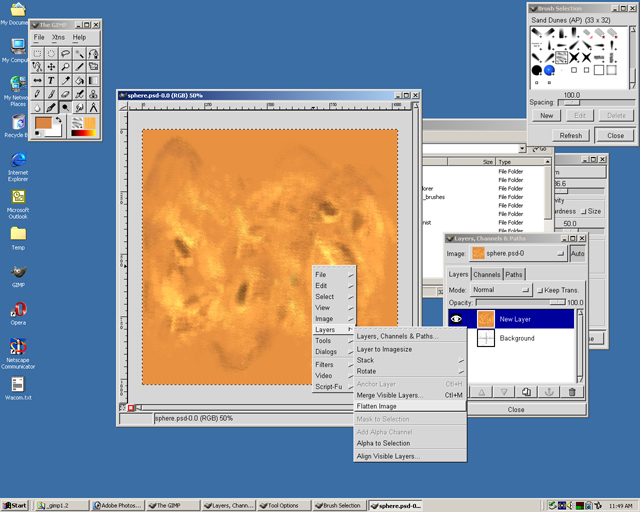
Step 21
Save as a Jpg file. Select ok.
Click to go back - UV Mapping
Click to move on - Wrapping Textures